
Freefall Track Guide: Asphalt Legends Gauntlet (Himalayas)
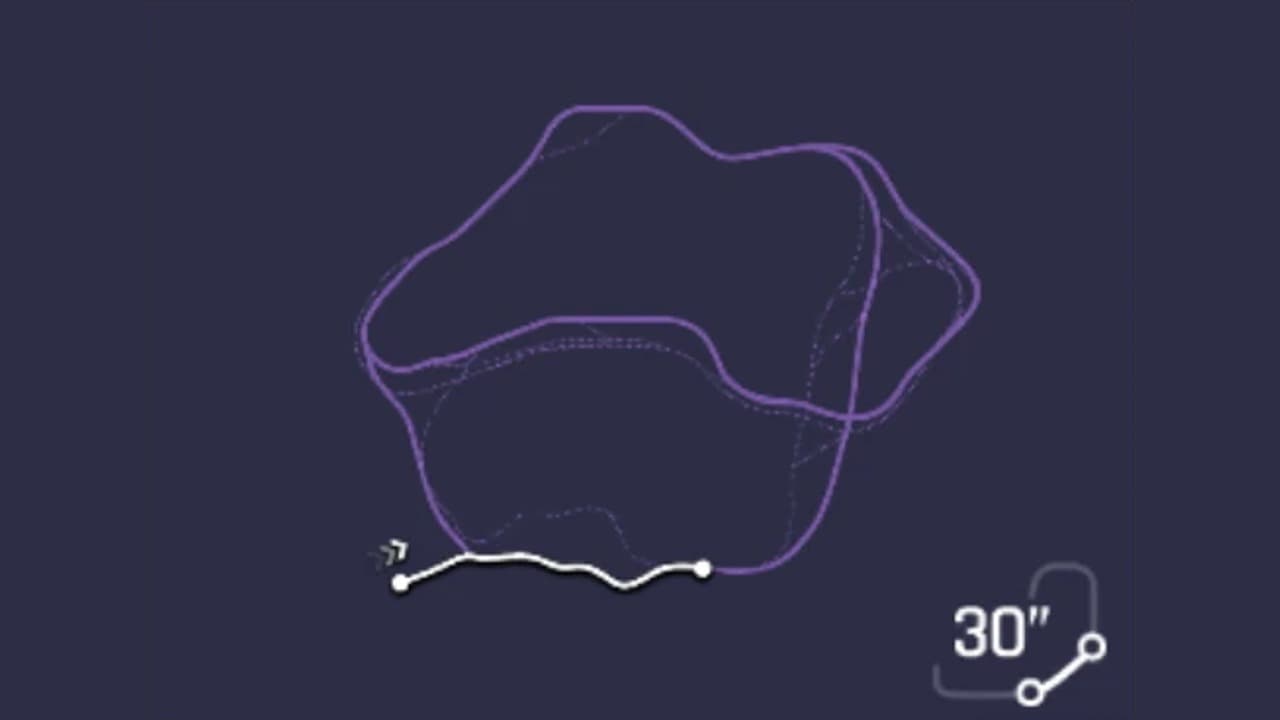 1 Nitro: Standing start in the snow canyon2 Drift: The first drift and the hop3 Drift: The long drift into the boulder field4 Ramp: The freefall: 2.6 seconds of air5 Hazard: Valley traffic and the closing drift6 Nitro: The last nitro and the turn to the line
- 1. Standing start in the snow canyon
- 2. The first drift and the hop
- 3. The long drift into the boulder field
- 4. The freefall: 2.6 seconds of air
- 5. Valley traffic and the closing drift
- 6. The last nitro and the turn to the line
What this track demands
The lap is decided in the air and just after it. The freefall at marker 4 is 2.61 seconds long and the reference run is doing 600 km/h through it, so landing straight and holding that speed through the valley traffic is worth more than anything else on the track.
- Top speed
- 5
- Air and stunts
- 5
- Nitro
- 4
- Drift
- 4
- Acceleration
- 3
- Handling
- 3
The 30 seconds, beat by beat
The standing start in the canyon
Standing start in the snow canyon
Freefall launches from a dead stop at the bottom of a narrow snow canyon, walls close on both sides and the road dropping away ahead. The opening is a pure acceleration test: the reference run is doing 71 km/h one second in with 0% of the track behind it, 169 km/h at 2%, 300 km/h at 6% and 407 km/h by 10%. There is nothing to steer around yet, so the whole beat is the launch. A car that reaches 400 km/h a few tenths sooner carries that gap all the way down the mountain.
The first drift and the hop
The first drift and the hop
Around 16% the canyon opens into a wider snow slope and the reference run throws its first drift, a 56-metre slide taken at 551 km/h, then catches a small hop off a crest that puts the car in the air for 0.35 seconds by 23%. Speed climbs through all of it, 551 km/h to 571 km/h, because the road is still dropping. Treat the drift as a nitro refill rather than a corner: the slide is shallow, the exit is straight, and the reference run is lit again the moment its wheels are back down.
The long drift into the boulder field
The long drift into the boulder field
The reference run peaks its first half at 596 km/h around 30%, where the descent passes a stand of rocks, and then the road bends into the longest slide on the lap: a 144-metre drift running from about 37% to 42% that pulls the car down to 549 km/h. Below it is a boulder field and a short icy tunnel, and the run spends a nitro shockwave at 46% to 49% to clear a breakable obstacle on the line. The exit matters because the freefall is next, and whatever you carry off this drift is your speed for the jump.
The freefall
The freefall: 2.6 seconds of air
This is the lap. A little past halfway the road ends at a cliff and the car leaves the mountain: the reference run is airborne from roughly 55% to 66%, logs 2.61 seconds of air time with three barrel rolls, and reads 600 km/h at 62%, the fastest it goes all run. It lands around 70% at 587 km/h with a perfect landing and a full nitro bar. The barrel rolls refill nitro but they are a choice, not a requirement; the thing that is not optional is landing straight, because the valley road that follows is where that 587 km/h either survives or evaporates.
Valley traffic and the closing drift
Valley traffic and the closing drift
The landing puts you on an open valley road with civilian traffic on it, the only traffic on the lap, and the reference run clears cars at 80% and 86% while its speed falls from 550 km/h at 77% to 457 km/h at 83%. Then the road bends and the run drifts again, 93 metres growing to 140 metres between 83% and 89%, holding around 454 km/h through the slide. This is the biggest speed loss on the track and there is no line that avoids it. What you can control is how much of the landing speed you hand back to the traffic before the drift even starts.
The last nitro and the turn to the line
The last nitro and the turn to the line
Out of the closing drift the reference run spends its last nitro, a shockwave that lifts it from 454 km/h at 89% to 494 km/h at 95%, and then the road turns once more towards the finish gate on the snow. The run scrubs to 449 km/h at 98% and crosses the line at 427 km/h with 17.899 on the clock. Keep enough bar for this: the shockwave here is worth roughly two tenths, and a car that arrives empty from the valley has nothing left to spend on the one straight that is left.
Where the run is won
- A straight landing off the freefall at marker 4. The reference run is doing 600 km/h in the air and 587 km/h on touchdown, and the valley road immediately after it is where that speed is either kept or lost.
- What you hand back to the traffic and the closing drift at marker 5. The run falls from 550 km/h to 454 km/h through this stretch regardless, so the gap between a good lap and a great one is how much of the landing speed survives to the drift.
What wrecks a run
- Landing sideways off the freefall. Three barrel rolls refill the bar, but a crooked touchdown at 587 km/h spends the valley road correcting instead of accelerating, and the traffic is waiting for you.
- Clipping the valley traffic at 80 to 86%. It is the only traffic on the lap, it arrives while you are still carrying landing speed, and a wreck here ends the run rather than costing a tenth.
- Arriving at the closing drift with an empty nitro bar. The last shockwave at 89 to 95% is worth roughly two tenths, and it needs bar that a run which lit everything in the valley no longer has.
- Fighting the 144-metre drift at 37 to 42% instead of riding it. The slide cannot be taken flat, and scrubbing extra speed there costs you the freefall, because the jump is taken at whatever speed you carry off this exit.
Which car to bring
Read this track the way our car stats guide suggests: count the places the layout forces you to slow down, then look at what it gives you back. Freefall forces it three times (the standing start, the 144-metre drift at marker 3, the valley traffic and closing drift at marker 5) and in between it hands you a continuous descent at over 550 km/h from 16% to 77%, including 2.61 seconds of pure airtime at 600 km/h.
In priority order: top speed first, because more than half the lap is run at the car's ceiling and a lower ceiling simply stops gaining while a faster car is still pulling. Air handling second, because the freefall is long enough that a floaty car lands straighter and sooner than a car that fights the air. Drift retention third, since there are four drift zones on the lap and the two long ones set your speed for the freefall and for the finish. Acceleration is the stat you can compromise on: the standing start is over inside the first 10% of the track and the descent does the rest of the work.
One consequence worth being straight about. Your Gauntlet division is set by the combined rank of your top five cars, and rank leans heavily on top speed, so a car that genuinely suits Freefall is also a car that pushes your division up. Plan the trade rather than discovering it, and note that both of the fastest reference runs we could find were set by cars with a top speed rating the wiki describes as the highest in the game.
The good news is that the Gauntlet Market stocks a top-speed car in almost every division, including the car that set the fastest reference run for this track. The times attached to some picks are laps other players have posted, included so you can tell whether your own run is close. They are not targets, and none of them is a time we set.
Hyundai IONIQ 5 N
StarterClass D · Gauntlet Market, Division I
The cheapest car in the Gauntlet Market and the usual way into the mode at all. Its strength is acceleration and low rank, which covers the standing start and keeps your division down, but it will run out of top speed long before the descent does. It will get you round Freefall and show you the jump; it will not get you a competitive time on a lap that spends ten seconds above 550 km/h.
Aston Martin DBS 770 Ultimate
StarterClass B · Gauntlet Market, Division II (900 blueprints)
The first rung where top speed starts to matter more than rank. Worth naming because the Division II market is reachable early and this is the cheaper of its blueprint cars, which makes it a sensible place to put Gauntlet currency while you are saving for a Division III or IV car that can actually use the descent.
Lamborghini SC18
MidClass A · Gauntlet Market, Division III (2,100 blueprints)
A lot of nitro for a Class A car, which suits a lap with two nitro shockwaves in it and a bar that refills across four drift zones. The modest top speed is the ceiling: it is the right mid-tier car for learning where the freefall lands you, and the thing you will eventually outgrow on it.
FV Frangivento Sorpasso GT3
MidClass S · Gauntlet Market, Division IV (2,200 blueprints)
The cheaper of the two blueprint cars in the Division IV market, and the step where the descent starts to open up. A reasonable target if you are grinding Gauntlet currency and want a Class S car without saving for the Division V roster.
W Motors Lykan HyperSport
HighClass S · Event and pack car, not sold in the Gauntlet Market
Reference run: 19.899 — QuanTheAznPoop reference run
Listed simply as Lykan in the run title, and the slowest of the timed references here by a clear margin. Useful as a floor: it shows what a high Class S car that is not built for top speed does on this track, which is lose about two seconds to the Devel Sixteen over a 17-second lap.
Koenigsegg Agera RS
HighClass S · Special events and the Speed Festival, not sold in the Gauntlet Market
Reference run: 18.333 — QuanTheAznPoop reference run
The wiki calls it the McLaren F1 LM of Class S: a very high top speed for its rank, decent handling and nitro, and acceleration that stays below 80 even at max. That profile is exactly what Freefall forgives, because the standing start is over by 10%, and the time below sits within half a second of the fastest run we found.
Bugatti Bolide
HighClass S · Drive Syndicate support car, not sold in the Gauntlet Market
Reference run: 18.3 — Rival reference run
The wiki rates its acceleration as the fastest among the five fastest cars in the game and its nitro efficiency as extremely weak, which makes it an interesting fit here: it wins the canyon start outright and then has to be careful about how much bar it burns before the last shockwave. The run below was set at rank 5,070.
Devel Sixteen
HighClass S · Gauntlet Market, Division V (key 150,000, blueprints 4,000 each)
Reference run: 17.899 — Rival reference run
The run this entire guide was read from, and the clearest evidence for what the track wants: the wiki describes it as the fastest car in the game, with a stock top speed above 550 km/h and nitro that does not raise it further, and this lap spends ten seconds at that ceiling. That it is a Gauntlet Market car matters too, because the best car we found for this track is earned by playing the mode. The reference run was set at three stars, rank 4,599.
These are examples of the profile, not a ranked list. The method behind them is in how Asphalt Legends car stats actually work.
Frequently Asked Questions
- How long is Freefall in Asphalt Legends?
- It is one of the two 30-second (30") Himalayas variations used in Gauntlet, alongside Leap of Faith. Competitive reference runs finish it in roughly 17.9 to 19.9 seconds depending on the car.
- Where is Freefall won and lost?
- On the freefall jump a little past halfway and the valley road after it. A reference run is airborne from about 55% to 66% at 600 km/h, lands around 70% at 587 km/h, and then has to carry that speed through traffic and a 140-metre drift that pulls it down to 454 km/h. Nothing else on the lap moves the clock as much.
- What kind of car is best for Freefall?
- Top speed first, then air handling, then drift retention. Acceleration matters least, because the standing start is over inside the first 10% of the track and the descent does the rest. The two fastest reference runs we found were set by the Devel Sixteen and the Bugatti Bolide, both high Class S cars built around top speed.
- Do you have to do the barrel rolls on the freefall?
- No. The reference run throws three, and each one refills nitro, which is why it lands with a full bar. But the rolls are a choice and landing straight is not: a crooked touchdown at 587 km/h spends the valley road correcting instead of accelerating. If you are new to the track, land flat first and add rolls once the landing is reliable.
- Can you get a good Freefall time with an earnable car?
- Yes, and the best car we found is one. The fastest reference run on this track, a 17.899 in a Devel Sixteen, uses a car sold in the Gauntlet Market at Division V for currency the mode itself pays out. The Lamborghini SC18 at Division III and the FV Frangivento Sorpasso GT3 at Division IV are cheaper rungs on the same ladder.
- Why is there traffic on Freefall?
- The valley road after the landing is the only stretch of the lap with civilian cars on it, and it arrives while you are still carrying landing speed of over 550 km/h. The reference run clears cars at 80% and 86% and then goes straight into the closing drift, so treat the whole section as one hazard rather than two.
- Is Freefall a top speed track or a nitro track?
- Top speed. The reference run spends ten seconds above 550 km/h, from 16% to 77% of the lap, and peaks at 600 km/h in the air. Nitro still matters, because the run uses shockwaves to clear an obstacle before the jump and to pull away from the closing drift, but a car that tops out lower simply stops gaining on the descent while a faster one is still pulling.
Sources
- Asphalt Wiki - Himalayas (track variants and route maps)
- Asphalt Wiki - Gauntlet (format, divisions, Gauntlet Market)
- Reference run - Devel Sixteen, 17.899 (Rival)
- Reference run - Bugatti Bolide, 18.3 (Rival)
- Reference runs - Koenigsegg Agera RS, 18.333 and Lykan, 19.899 (QuanTheAznPoop)
- Asphalt Wiki - Devel Sixteen
- Asphalt Wiki - Bugatti Bolide
- Asphalt Wiki - Koenigsegg Agera RS